| View previous topic :: View next topic |
| Author |
Message |
John Cadd
Super Member
Joined: 23 Jul 2009
Posts: 1336
Location: Hoylake
|
 Posted: Sat Sep 06, 2025 10:10 am Post subject: violin build Posted: Sat Sep 06, 2025 10:10 am Post subject: violin build |
 |
|
| Mike I just worked out an interesting trick for purfling the corners . The worst part is maintaining that small pointy bit in the tops inside the purfling line . Any straight blade whether single sided bevel or not tries to scratch away the tiny points . So I used a mini gouge with an outer bevel and ground away the bevel to reverse it to becomes a ====Japanese style In - Cannel gouge.=== Now the gouge cuts vertically rather than pushing or pulling. You can twist the blade or make a rocking movement . Purfling two handed is better . The right hand steering and the left thumb giving forces forwards ..A small narrow straight chisel can be leaned backwards and the left thumb pushing the angled edge forwards or cutting vertically . It gets complicated to find so many different ways to cope with curves . Two angled chisels (left and right ) with a straight edge gives you some more choices . |
|
| Back to top |
|
 |
MikeCooper
Member
Joined: 08 Nov 2023
Posts: 175
Location: USA Georgia
|
| Posted: Mon Sep 08, 2025 12:39 pm Post subject: |
|
|
Hi John, that's a good idea, using a incannel gouge for the purfling channel at the corner. If I build another violin after this one, I may try that.
A brief update on the build, I'm still making slow progress. I have glued in the label and made a couple videos showing rounding of the edges on the back plate, but I have not glued on the top plate yet. |
|
| Back to top |
|
|
John Cadd
Super Member
Joined: 23 Jul 2009
Posts: 1336
Location: Hoylake
|
| Posted: Mon Sep 08, 2025 4:31 pm Post subject: Violin build |
|
|
Just in case any readers don`t know about Japanese gouges --the sharpening is dead easy .You just hold the concave side down against the sharpening plate at the 30 degree angle . The western in-cannel blade ends are straight across but the Japanese ones have a curved end .
I decided to fit purfling on the broken violin I rescued .
I bought a set of plate clamps on Ali Express .Three screws on the bigger sections and two screws on the middle bouts. In a dry practice I learned to fit the middle ones first . Just practical wing nuts and some plastic tubing that just gets in the way .I used a few bits of green tape for the first positioning just to get it straight . |
|
| Back to top |
|
|
MikeCooper
Member
Joined: 08 Nov 2023
Posts: 175
Location: USA Georgia
|
| Posted: Mon Oct 13, 2025 6:58 pm Post subject: |
|
|
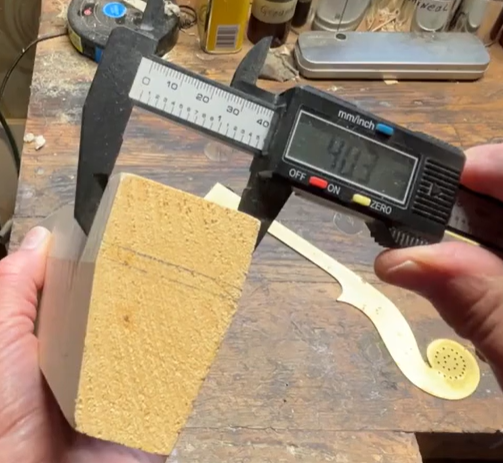
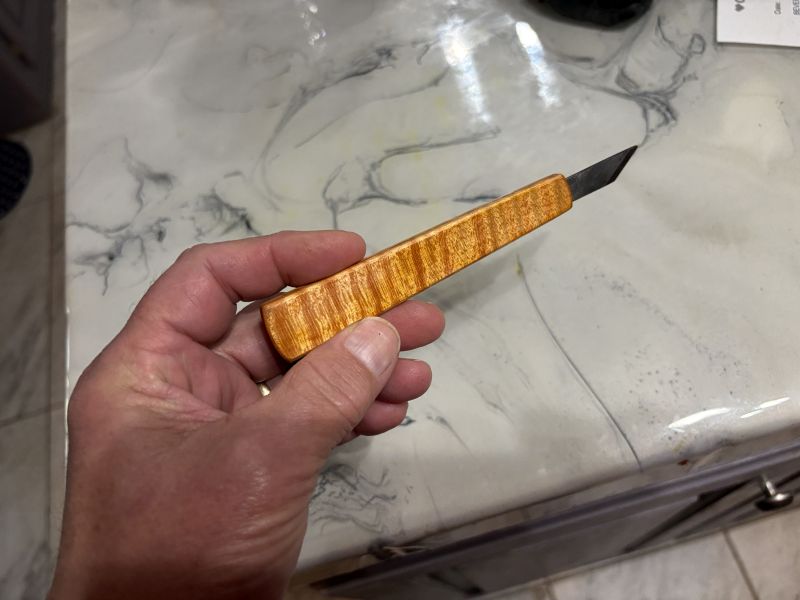
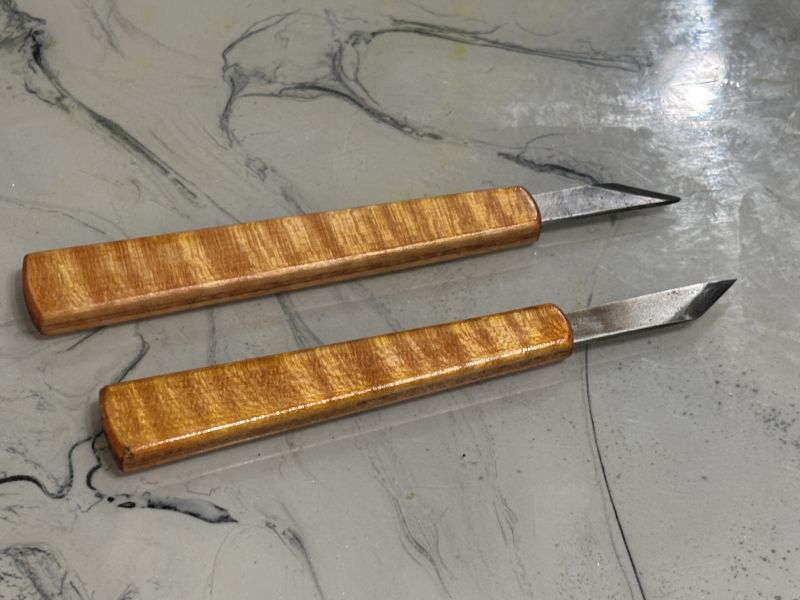
It has been about a month since I made progress on the violin, too many other things going on. But I did take time to make handles for a couple of my knives and used these as a test for ground varnish. Here's a link to a short video and a couple of pictures.
https://www.youtube.com/watch?v=ctXVVW6Qu9M
 |
|
| Back to top |
|
|
MikeCooper
Member
Joined: 08 Nov 2023
Posts: 175
Location: USA Georgia
|
| Posted: Tue Nov 18, 2025 7:22 am Post subject: |
|
|
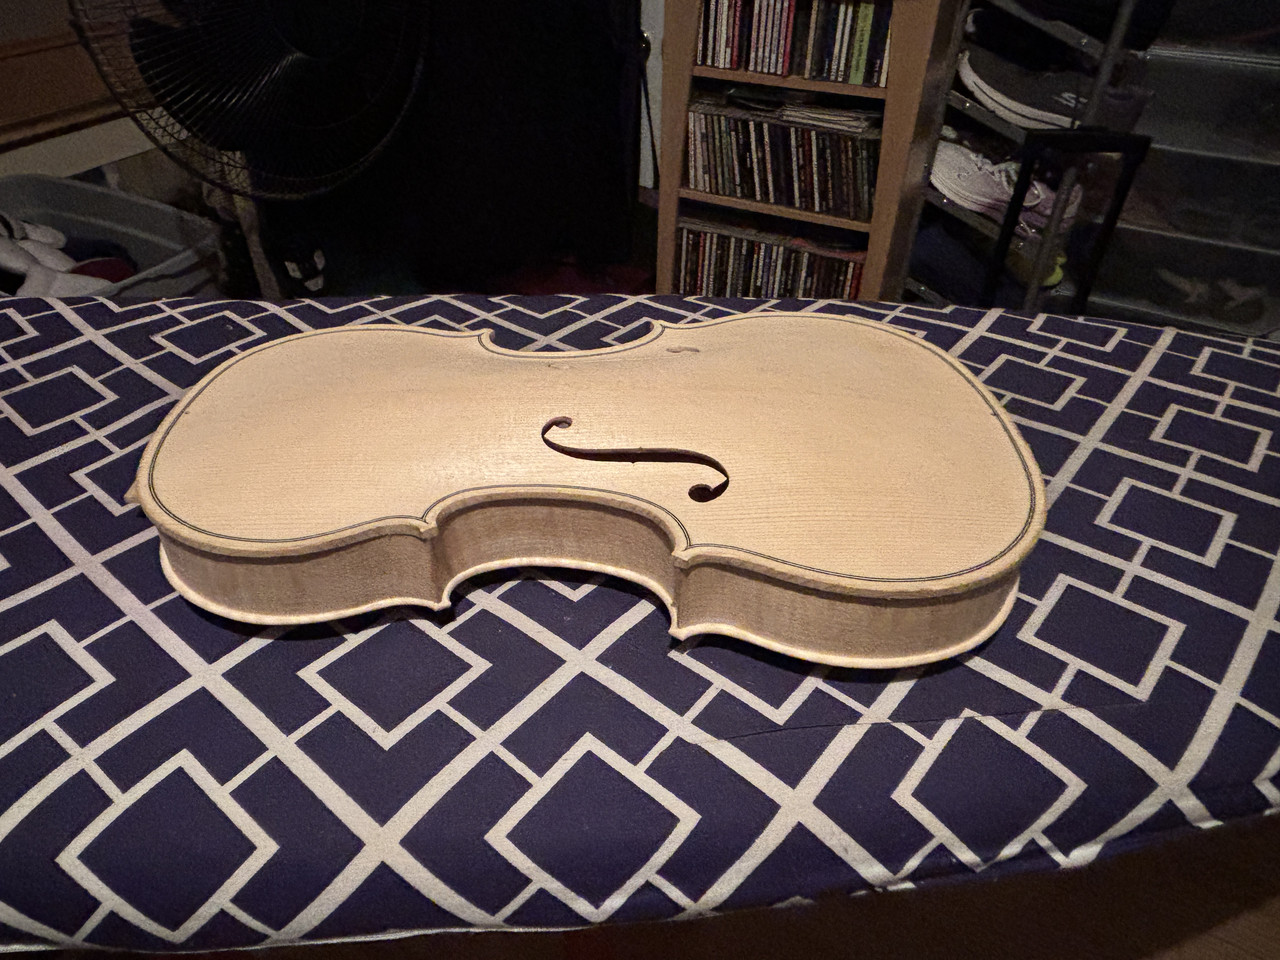
I finally decided to make some progress and glued the top plate to the ribs after being lazy and putting it off for a while.
 |
|
| Back to top |
|
|
John Cadd
Super Member
Joined: 23 Jul 2009
Posts: 1336
Location: Hoylake
|
| Posted: Wed Nov 26, 2025 9:33 am Post subject: First build |
|
|
| Do you remember the excitement of releasing the body from the clamps? That`s always a special moment. This stage is the halfway point . Getting the neck on is the second big one. Artists (painters) talk about the time when they "abandon" a painting . Whatever second thoughts they have it stands on it`s own feet from now on . I feel this violin will be very special . The film of it being made is part of that . |
|
| Back to top |
|
|
MikeCooper
Member
Joined: 08 Nov 2023
Posts: 175
Location: USA Georgia
|
| Posted: Wed Nov 26, 2025 2:13 pm Post subject: |
|
|
Hi John, yes it's nice to get the clamps off and have the box finished. I spent some time the last couple days rounding over the edges. I didn't video that since I did video the rounding of the back plate edges. So yes the next step is the neck so hopefully I can get started on that soon.
I have a neck template that I made from a sheet of brass but I think it needs some improvement. I'm going to work on a new neck template first before I start cutting wood. |
|
| Back to top |
|
|
MikeCooper
Member
Joined: 08 Nov 2023
Posts: 175
Location: USA Georgia
|
| Posted: Thu Jan 08, 2026 9:58 pm Post subject: |
|
|
| I haven't checked in here in about a month. Christmas holidays and lots going on so no progress on the build lately. Maybe this weekend I can start on the neck. |
|
| Back to top |
|
|
MikeCooper
Member
Joined: 08 Nov 2023
Posts: 175
Location: USA Georgia
|
|
| Back to top |
|
|
MikeCooper
Member
Joined: 08 Nov 2023
Posts: 175
Location: USA Georgia
|
| Posted: Wed Feb 11, 2026 10:56 pm Post subject: |
|
|
Progress is slow. Someone wanted to see my last build so I made a short video to show the completed violin. Here's a youtube link.
https://www.youtube.com/watch?v=-GcI6KvPGsQ |
|
| Back to top |
|
|
MikeCooper
Member
Joined: 08 Nov 2023
Posts: 175
Location: USA Georgia
|
| Posted: Tue May 05, 2026 5:49 pm Post subject: |
|
|
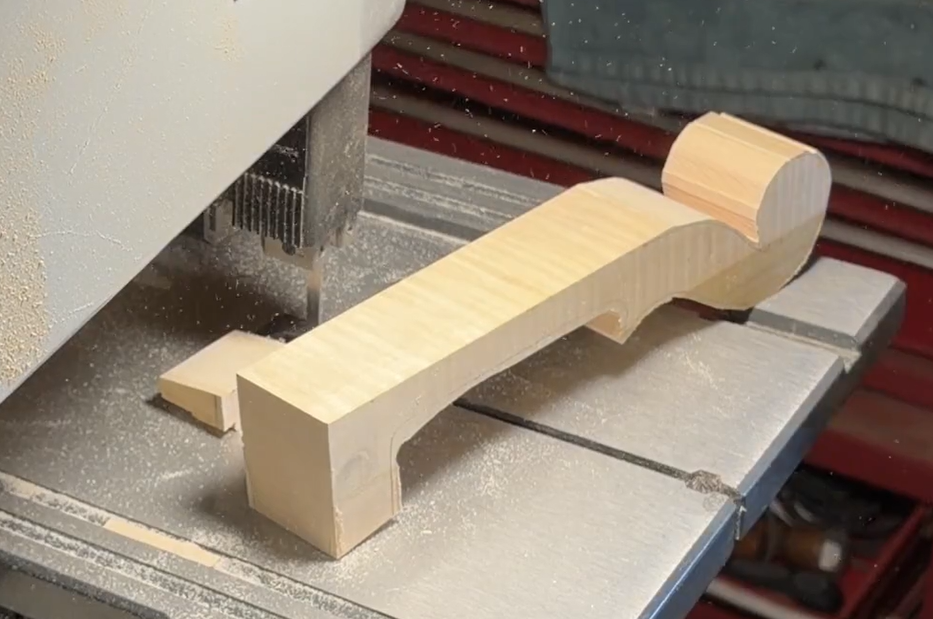
It's been a while since I made any progress but I finally started back working on the neck.
 |
|
| Back to top |
|
|
MikeCooper
Member
Joined: 08 Nov 2023
Posts: 175
Location: USA Georgia
|
| Posted: Mon May 18, 2026 8:51 pm Post subject: |
|
|
Working on the scroll.
 |
|
| Back to top |
|
|
MikeCooper
Member
Joined: 08 Nov 2023
Posts: 175
Location: USA Georgia
|
| Posted: Wed Jun 03, 2026 7:21 pm Post subject: |
|
|
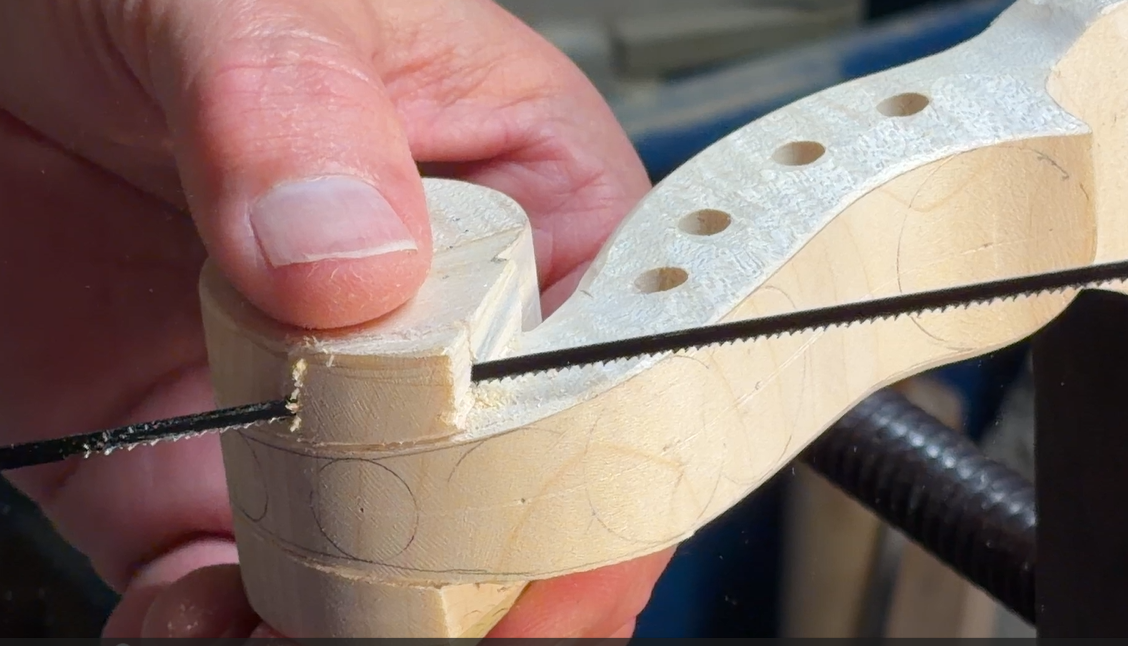
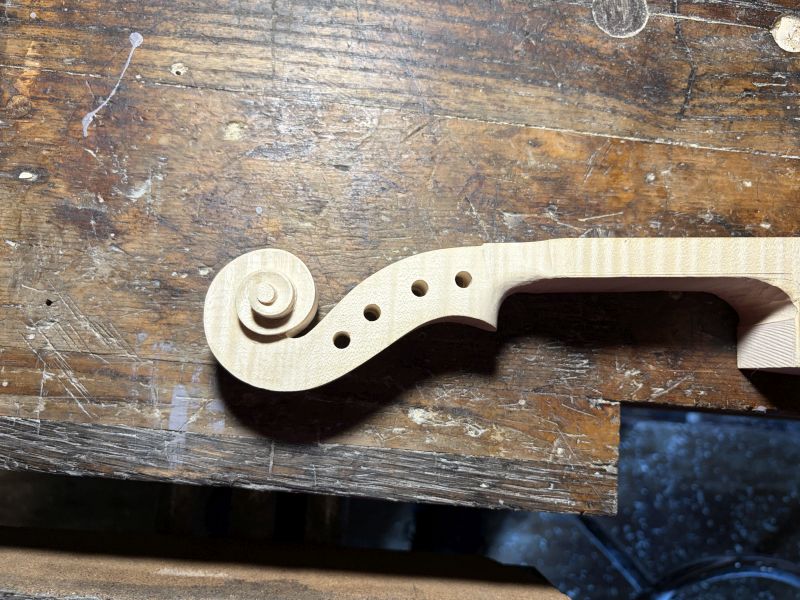
Making progress on the scroll.
 |
|
| Back to top |
|
|
MikeCooper
Member
Joined: 08 Nov 2023
Posts: 175
Location: USA Georgia
|
| Posted: Sat Jun 13, 2026 10:24 am Post subject: |
|
|
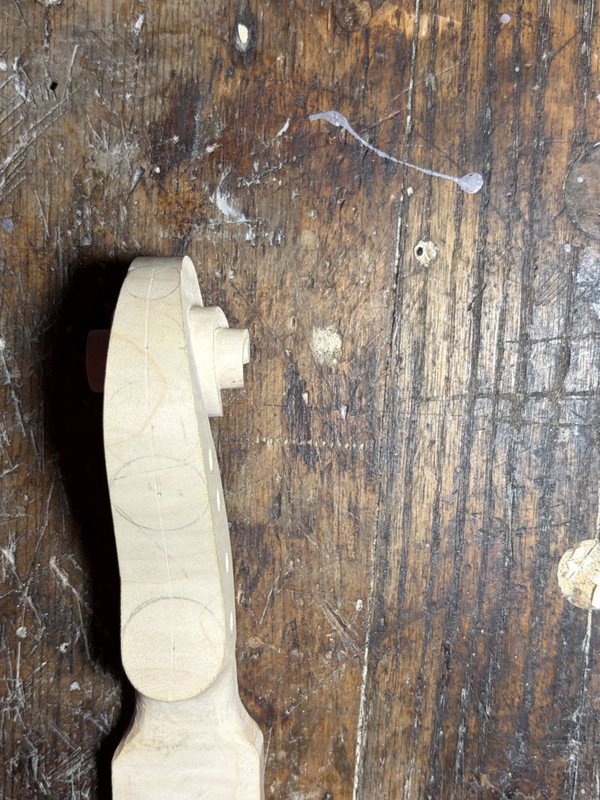
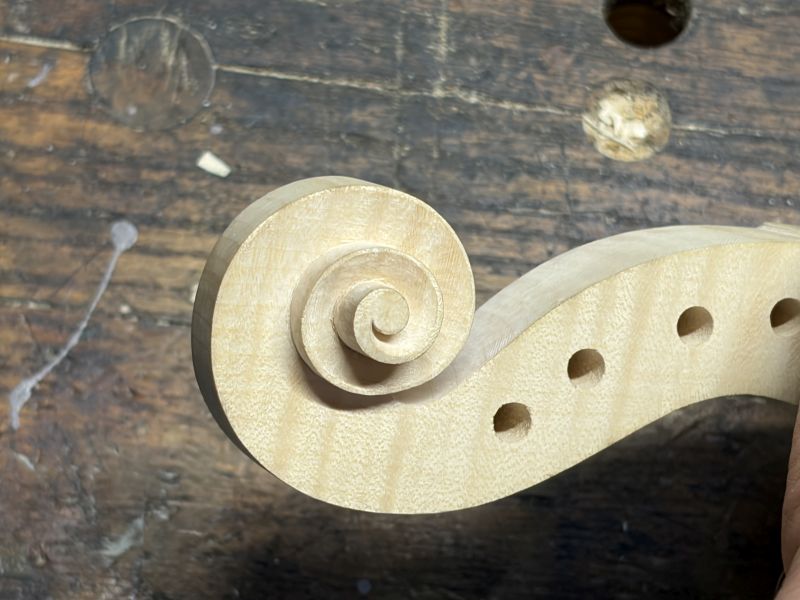
Doing some refinements on the scroll sides. Basically finished, still needs the chamfer. Maybe a slight little bit more refinement.
 phpbb plugin for images phpbb plugin for images |
|
| Back to top |
|
|
MikeCooper
Member
Joined: 08 Nov 2023
Posts: 175
Location: USA Georgia
|
| Posted: Fri Jun 19, 2026 2:24 pm Post subject: |
|
|
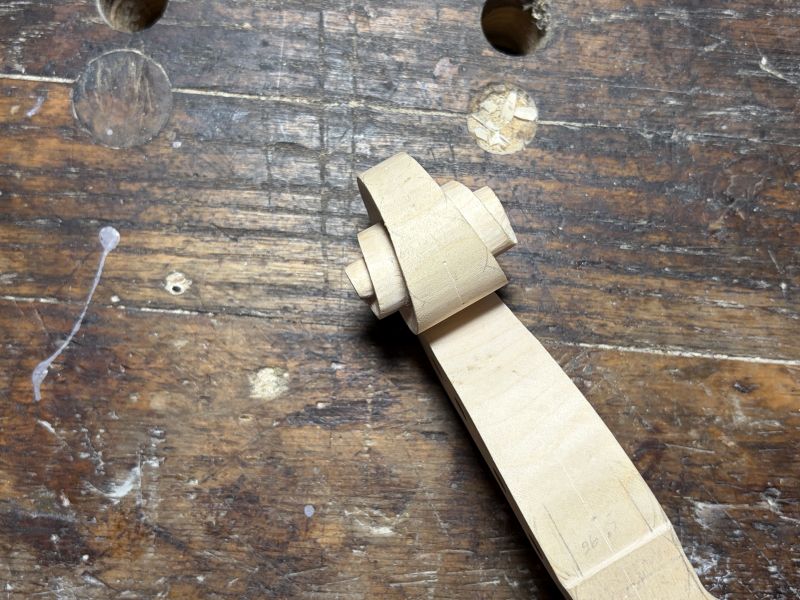
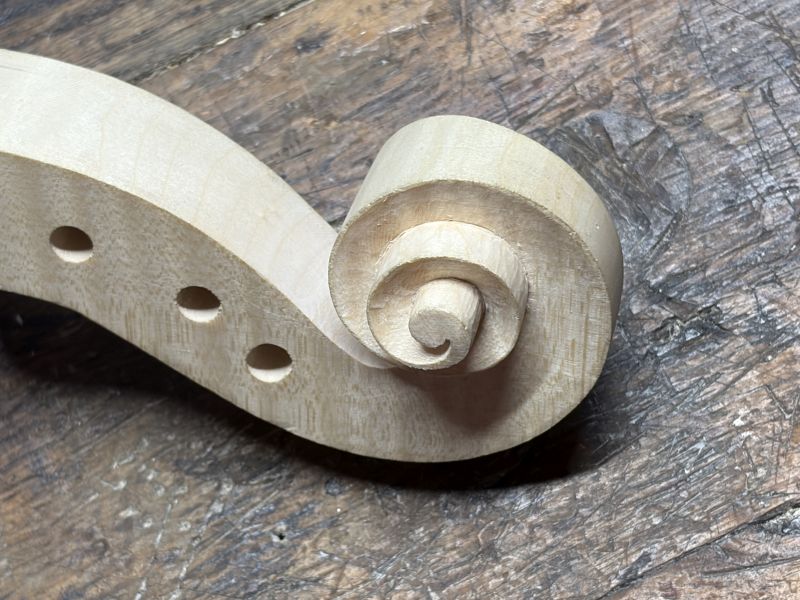
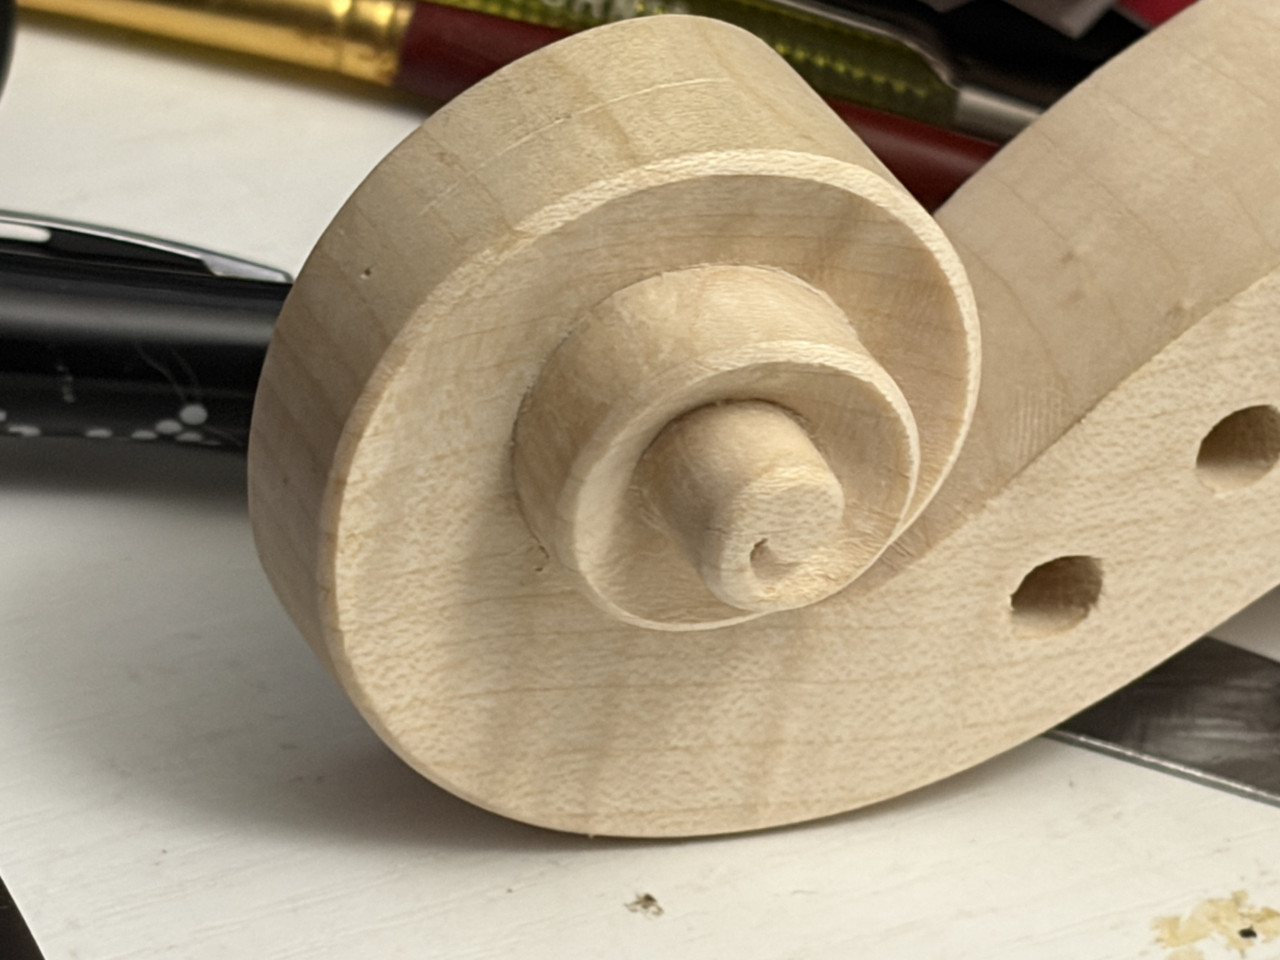
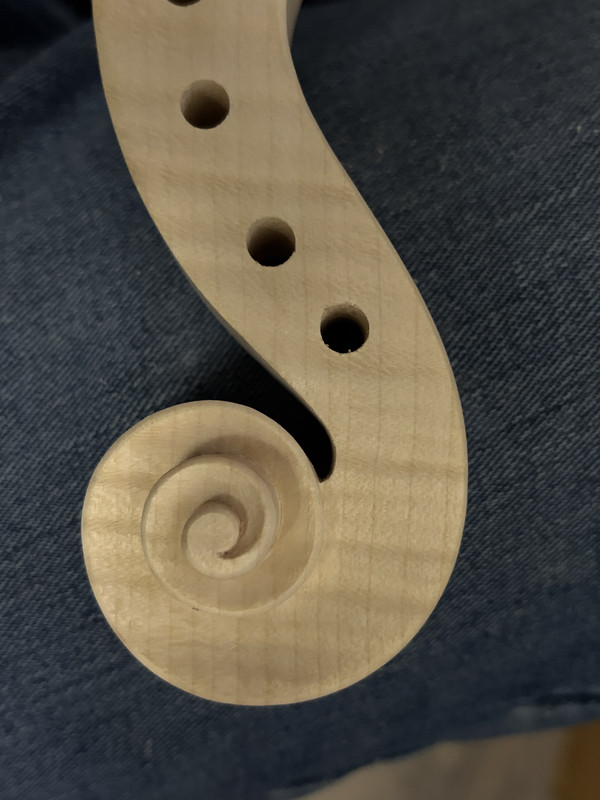
A bit more refined now. I have made the chamfer around the turns. I think I'll open the pegbox next and then do the fluting on the outside surface.
The second image is upside down but shows the throat open, not too tight in there.
I like leaving a little flat area coming out of the eye so it looks like a 'comma'
 |
|
| Back to top |
|
|
|